There’s something magical about mini desserts. They’re tiny treasures, packed with flavor, portioned for just the right bite, and loaded with charm. These Mini Chocolate Cheesecake Bites are more than just cute treats—they’re pure comfort. Every time I make them, I’m transported back to my grandmother’s tiny kitchen where the scent of cocoa and vanilla filled the air, and joy lived in the simplest things.
When I was about eight years old, my grandma used to make the most delicious cheesecakes for church gatherings and family birthdays. I remember watching her work, carefully measuring out ingredients with her well-worn measuring cups, using the back of a spoon to flatten graham cracker crumbs, and letting me lick the spatula after mixing the creamy filling. Her cheesecakes weren’t fancy. They didn’t have swirls or fruit glazes. But they were rich, chocolatey, and made with love.
She believed in desserts that brought people together. She didn’t care about food trends. What mattered to her was creating something from the heart. She once said, “If your cheesecake makes someone smile, you’ve done it right.”
Fast forward to now—I still use her handwritten recipe, but I’ve made a few changes to make them mini, portable, and more shareable. These Mini Chocolate Cheesecake Bites are now my go-to for potlucks, holidays, and lazy Sundays. They’re rich but not too heavy, sweet with a hint of tang, and that soft, creamy center is everything. Plus, they fit perfectly in a cupcake liner—no slicing required.
This recipe means more than dessert. It’s a piece of my past, shared with you in every bite. Whether you’re making these for your kids, your friends, or just for yourself, I hope you feel the same comfort and joy that I do every time I whip up a batch.
Ingredients and Equipment

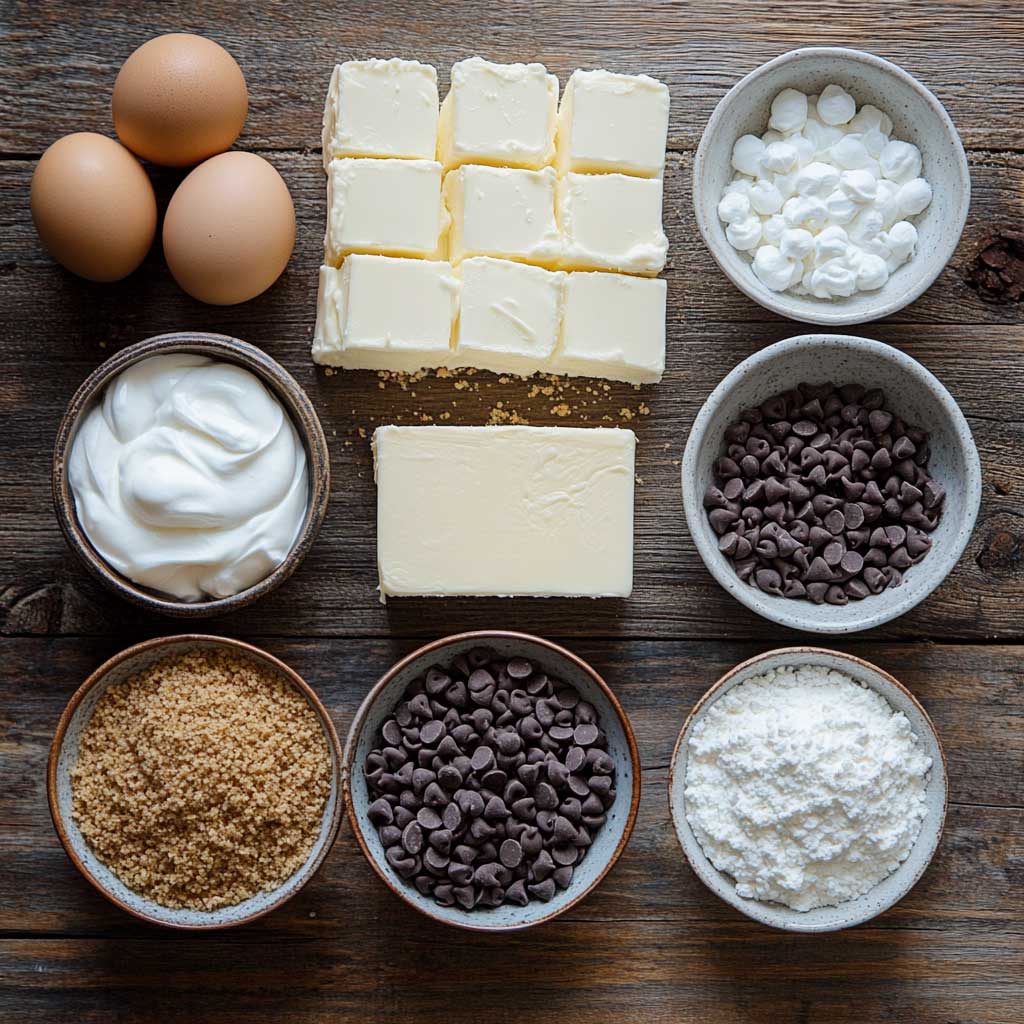
Let’s talk about what you’ll need. Each ingredient plays an important role in flavor, texture, and structure. And I’ll explain a few simple swaps if you’re short on something or need a dietary tweak.
For the crust:
- 1 cup graham cracker crumbs: The base for that classic cheesecake texture. You can swap with Oreo crumbs or even digestive biscuits for a twist.
- 2 tablespoons granulated sugar: Adds just a touch of sweetness to balance the crust.
- 4 tablespoons unsalted butter, melted: Binds the crust and gives it richness. Salted butter works in a pinch but skip the extra salt.
For the filling:
- 16 oz (2 packages) cream cheese, room temperature: The star of the show. Use full-fat for best texture and flavor. Low-fat works, but the result won’t be as creamy.
- 2/3 cup granulated sugar: Sweetens the filling without overwhelming the chocolate.
- 2 large eggs: Bind the batter and add richness. Room temperature is best for a smooth batter.
- 1/2 cup sour cream: Adds that perfect tang and keeps the texture silky. Greek yogurt can be used if needed.
- 1 teaspoon vanilla extract: Balances and deepens the flavors. Use pure vanilla for the best taste.
- 1 cup semi-sweet chocolate chips, melted: Gives that rich, fudgy chocolate flavor. You can use dark or milk chocolate depending on your preference.
Optional toppings:
- Whipped cream, fresh berries, chocolate shavings, or a drizzle of ganache
Equipment Needed:
- Mini muffin tin: The foundation for bite-sized portions. A 24-cup mini pan is perfect.
- Paper liners: Keeps things neat and makes removing the bites easy.
- Mixing bowls: One for crust, one for filling.
- Electric mixer or stand mixer: For a smooth, lump-free batter.
- Measuring cups and spoons: Accuracy matters in baking.
- Rubber spatula: Helps scrape down the bowl and fold ingredients gently.
You don’t need fancy gadgets. Just simple tools, some patience, and love. If you don’t have a mini muffin pan, you can use regular muffin tins—just adjust the baking time and portion size accordingly.
Step-by-Step Instructions

Follow these steps closely, and your Mini Chocolate Cheesecake Bites will come out rich, creamy, and perfectly portioned.
Step 1: Prep the oven and pans
- Preheat your oven to 325°F (163°C).
- Line your mini muffin tin with paper liners. This helps with easy removal and keeps things tidy.
Step 2: Make the crust
- In a bowl, combine graham cracker crumbs, sugar, and melted butter.
- Mix until it resembles wet sand.
- Scoop about 1 teaspoon of the mixture into each liner and press down firmly with the back of a spoon.
- Bake the crusts for 5 minutes, then remove and let cool.
Step 3: Prepare the chocolate
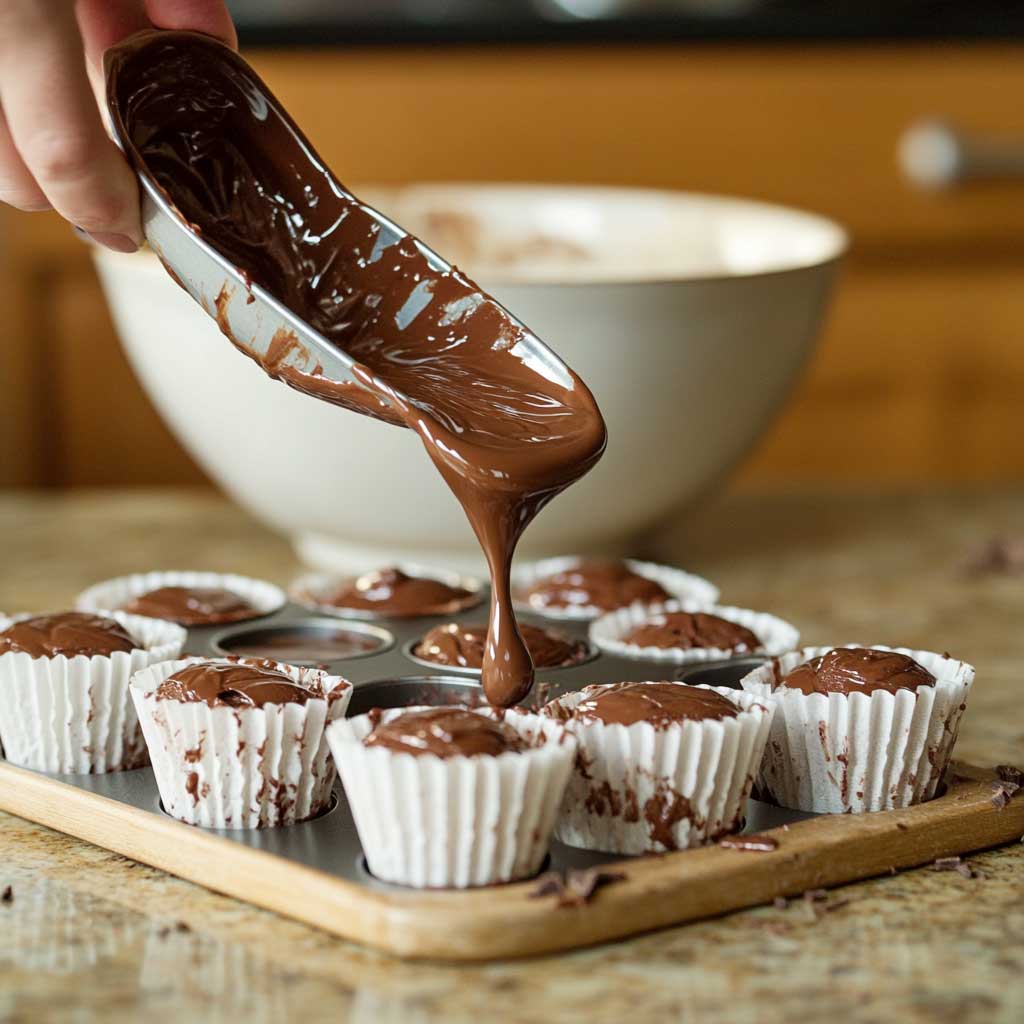
- Melt the chocolate chips using a double boiler or in the microwave (30-second intervals, stirring between each).
- Let the chocolate cool slightly while you prepare the rest of the filling.
Step 4: Make the filling
- Beat the softened cream cheese until smooth (about 2-3 minutes).
- Add sugar and beat until combined and fluffy.
- Add eggs one at a time, beating after each addition.
- Mix in sour cream and vanilla until smooth.
- Fold in the melted chocolate until fully incorporated.
Step 5: Fill and bake
- Use a small spoon or cookie scoop to fill each liner about ¾ full with the chocolate filling.
- Tap the pan gently on the counter to remove air bubbles.
- Bake for 14–16 minutes. The centers should look set but still slightly jiggly.
Step 6: Cool and chill
- Let the cheesecakes cool in the pan for 10 minutes.
- Transfer to a wire rack to cool completely.
- Refrigerate for at least 2 hours (overnight is best).
They firm up as they chill and become extra creamy and rich. Don’t skip this part!
Step 7: Add toppings
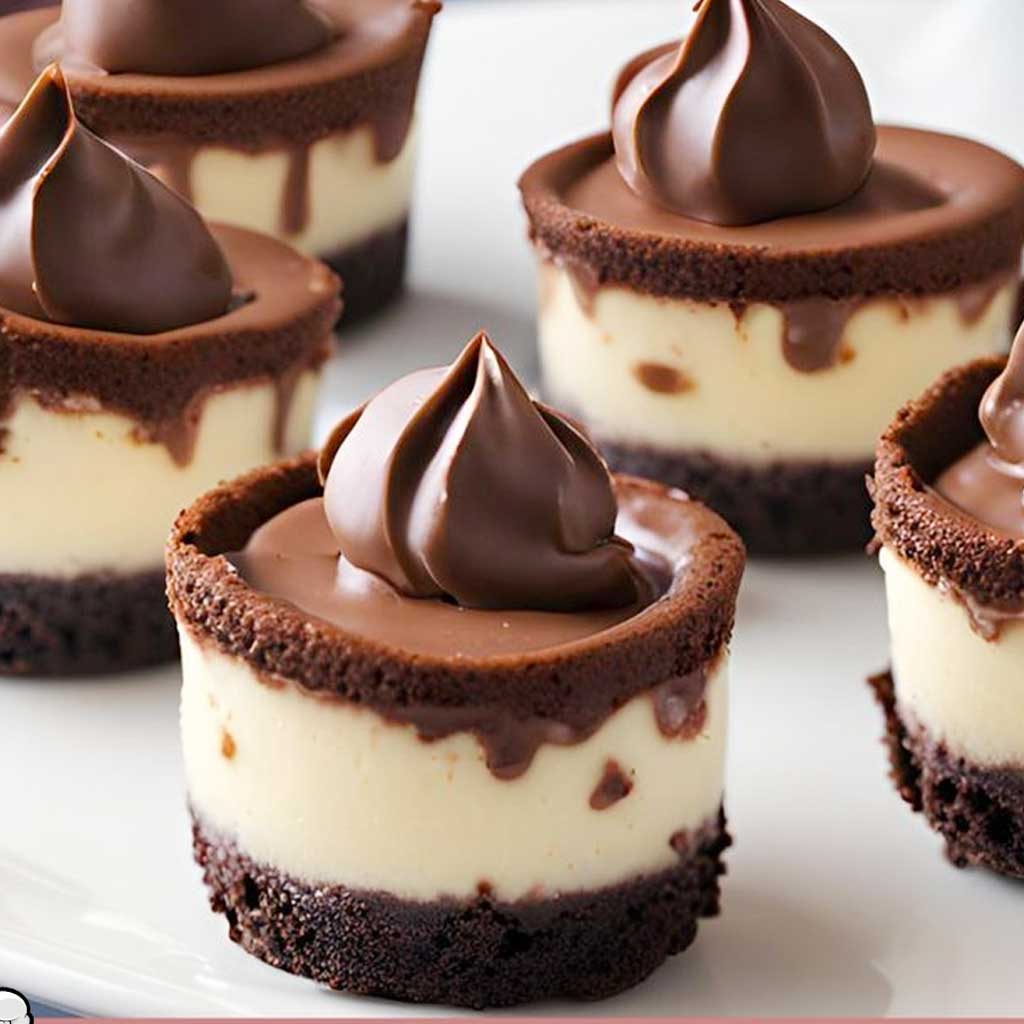
- Once chilled, top with a swirl of whipped cream, berries, or a light drizzle of ganache.
Simple, indulgent, and ready to impress.
Pro Tips for Flavor and Texture
- Room temperature ingredients: They blend better and give a smoother filling. Take out your cream cheese and eggs about 30 minutes ahead.
- Don’t overmix: Mix just until smooth. Overbeating can cause cracks.
- Use a water bath (optional): For ultra-smooth texture, place the muffin tin inside a larger pan filled with hot water halfway up the sides. Not necessary, but worth it if you want bakery-level results.
- Chill completely: The longer they chill, the better the texture.
These tips will help turn your bites from good to unforgettable.
Tips for the Best Mini Chocolate Cheesecake Bites
If you want that smooth, creamy bite with the perfect crust-to-filling ratio, these tips will help you get it right every time.
- Use high-quality chocolate: This makes a big difference. Choose a trusted brand for melting chips or even chop up a chocolate bar. Cheap chocolate can taste waxy or too sweet.
- Don’t skip chilling: They might seem set after cooling, but chilling firms them up and deepens the flavor. The texture is silky and rich only after a full chill.
- Avoid overbaking: The centers should look a bit jiggly when you take them out. They’ll continue to firm as they cool. Overbaking can lead to cracks or a dry texture.
Ingredient Notes
Each ingredient is there for a reason. Here’s a closer look at why these choices matter and how you can adapt them based on what you have or need.
Cream Cheese
Use full-fat, brick-style cream cheese. Tub or whipped versions don’t have the same structure and will make the filling too soft. Room temperature cream cheese gives you a smoother batter with less mixing—very important to avoid cracks or air pockets.
Chocolate
Semi-sweet chocolate offers the perfect balance. Not too bitter, not overly sweet. You can use dark chocolate for a more intense flavor or milk chocolate if you prefer it sweeter. Avoid chocolate chips with stabilizers—they don’t melt as smoothly.
Sour Cream
This adds tang and moisture. It also softens the richness of the chocolate. Greek yogurt is a suitable substitute, but avoid non-fat versions. They lack body and can make the texture thin.
Graham Crackers
The classic crust base. Want a twist? Try chocolate graham crackers, Oreo crumbs, or even Biscoff for a caramel note. If using Oreos, skip the extra sugar in the crust—they’re already sweet.
Butter
Unsalted butter gives you better control over flavor. Salted butter works if that’s what you have, just reduce or skip any added salt in the recipe.
Equipment Notes
You don’t need anything fancy, but the right tools make it easier to get bakery-style results.
Mini Muffin Pan
This recipe is made for a 24-cup mini muffin pan. Standard-size muffin pans can be used instead—just double the crust and filling amounts and increase baking time to around 20–22 minutes.
Paper Liners
Don’t skip these. They help prevent sticking and make the cheesecakes easier to remove. Use decorative liners if you’re serving them at a party.
Electric Mixer
Hand or stand mixer—either works. What matters is getting that smooth, lump-free batter without overmixing.
Cookie Scoop
This helps portion both the crust and filling evenly. It also keeps your hands clean and your bites uniform in size.
Flavor Variations
Want to make them your own? Here are a few easy ways to switch it up.
- Peanut Butter Swirl: Drop a teaspoon of peanut butter on top before baking. Use a toothpick to swirl it into the chocolate.
- Mint Chocolate: Add ¼ teaspoon peppermint extract to the filling for a cool twist.
- Salted Caramel: After chilling, top each bite with a dollop of caramel sauce and a tiny pinch of flaky sea salt.
- Espresso Infused: Stir in 1 teaspoon of instant espresso powder to boost the chocolate flavor.
Each version gives you a new reason to come back to this recipe again and again.
Serving Suggestions
These Mini Chocolate Cheesecake Bites are great for:
- Holidays: Add crushed peppermint or sprinkles for festive flair.
- Birthdays: Top with whipped cream and a single birthday candle for a cute twist.
- Potlucks: Stack them on a platter or serve in mini cupcake boxes for easy transport.
- Date Night: Pair with fresh strawberries and a glass of red wine.
They’re a hit at every occasion, and you’ll never have leftovers—trust me.
Freezing and Storage
These bites freeze beautifully. Here’s how to store them properly:
- Refrigerator: Store in an airtight container for up to 5 days.
- Freezer: Place bites on a baking sheet to freeze individually. Once frozen, transfer to a zip-top bag. They’ll last up to 2 months.
To serve from frozen, thaw in the fridge overnight or on the counter for 30 minutes. The texture remains just as smooth.
Hosting Tip
Hosting a party or brunch? Make a cheesecake bites bar. Set out toppings like whipped cream, berries, sprinkles, mini chocolate chips, and sauces (chocolate, caramel, raspberry). Let guests customize their own. It’s fun, interactive, and requires zero extra baking.
Want to keep going? Type next to continue with Final Thoughts, Q&A, and more SEO-rich content.
Final Thoughts
There’s something timeless about cheesecake. Add chocolate and shrink it down into bite-sized portions, and you’ve got a dessert that hits every mark—comforting, indulgent, and practical.
These Mini Chocolate Cheesecake Bites have become one of my most requested recipes. I’ve made them for birthdays, bridal showers, family game nights, and even quiet weekends at home. The best part? People feel special when you serve them. They look like something from a fancy bakery, but they’re made with simple ingredients and real love.
I hope this recipe becomes one you return to. Maybe you’ll make it your own. Maybe you’ll pass it down. Maybe one day, someone in your family will be licking the spatula like I did in my grandma’s kitchen all those years ago.
Food has a way of holding memories. This one holds quite a few for me—and I’m glad to share it with you. Now go make a batch, taste one, and try not to eat all 24 in one sitting. (I’ve failed at that more than once.)
Q&A: Mini Chocolate Cheesecake Bites
1. Can I make these in advance for a party?
Absolutely. In fact, they taste better when made ahead. Bake them the day before and chill overnight. Add toppings just before serving to keep everything fresh.
2. Why did my cheesecake bites crack?
Cracking usually happens when the batter is overmixed or overbaked. Make sure your ingredients are room temperature and mix only until smooth. Also, don’t bake until fully firm—they should still jiggle slightly in the center when done.
3. Can I make these gluten-free?
Yes. Just use gluten-free graham crackers or substitute with almond flour for the crust. The filling is naturally gluten-free.
4. Do I need a water bath?
No, it’s not required for these mini versions. The small size helps them bake evenly. But if you want ultra-smooth results, place your muffin pan inside a larger pan with hot water halfway up the sides.
5. Can I double the recipe?
Definitely. This recipe doubles well. Just make sure you have two mini muffin pans or bake in batches. Don’t overcrowd your oven—air circulation matters for even baking.
Ready to Share the Love?
If this recipe made your day a little sweeter, share it with a friend, post it to Pinterest, or print it out for your recipe binder. Food is meant to be shared, and joy grows when passed along.
See you back here for the next sweet adventure.
